 Pin It
 My grandmother kept her cast iron skillet seasoned with decades of cornbread memories, and I swear that iron carried more flavor than any ingredient we measured out. The first time I tried making cornbread in my own apartment, I used a cheap aluminum pan and ended up with something that tasted like disappointment. It took me years to understand that cornbread isn't just about the recipe, it's about the vessel and the patience you bring to it.
Last winter, during that terrible ice storm that knocked out power for three days, my neighbor knocked on my door with a steaming cast iron skillet of cornbread she'd baked on her wood stove. We sat by candlelight eating wedge after wedge with whatever we could scrounge from our warming refrigerators, and I've never tasted cornbread that good since. Something about crisis cooking makes everything taste better.
Ingredients
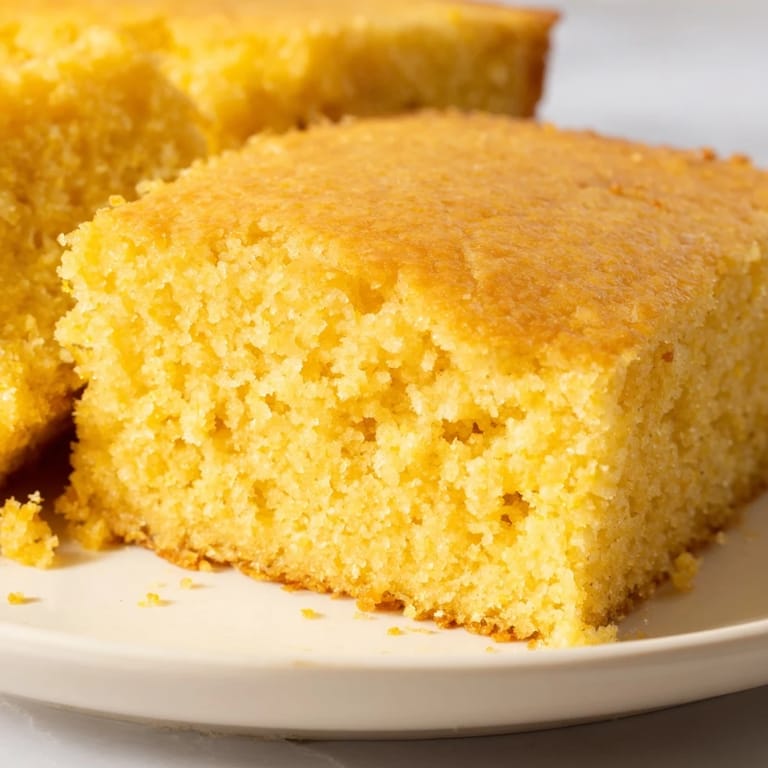
- Yellow cornmeal: This gives you that classic golden color and slightly gritty texture that makes cornbread feel authentic
- All purpose flour: Provides structure so your cornbread holds together instead of crumbling into sadness
- Granulated sugar: Just enough to balance the corn's natural sweetness without making this dessert
- Baking powder and baking soda: The double lift ensures your cornbread rises properly and develops those beautiful air pockets
- Fine sea salt: Enhances all the flavors and keeps this from tasting like a corn muffin
- Whole milk or buttermilk: Buttermilk adds tanginess while whole milk creates a more tender crumb
- Eggs: Bind everything together and add richness
- Unsalted butter: Melted butter adds incredible flavor and helps create that golden crust
- Vegetable oil: Keeps the cornbread moist and prevents it from drying out
- Honey: Optional, but adds a lovely subtle sweetness that pairs perfectly with salty butter
Tired of Takeout? 🥡
Get 10 meals you can make faster than delivery arrives. Seriously.
One email. No spam. Unsubscribe anytime.
Instructions
- Get your oven ready:
- Preheat to 400°F and generously grease your square pan or cast iron skillet with butter, getting into all the corners
- Whisk your dry ingredients:
- In a large bowl, combine cornmeal, flour, sugar, baking powder, baking soda, and salt until everything is evenly distributed
- Mix the wet ingredients:
- In a separate bowl, whisk together milk, eggs, melted butter, oil, and honey until smooth and slightly frothy
- Bring them together:
- Pour wet ingredients into dry and fold gently with a spatula just until combined, some lumps are perfectly fine
- Into the oven:
- Pour batter into your prepared pan, smooth the top, and bake for 20 to 25 minutes until golden
- The waiting game:
- Let it cool in the pan for 10 minutes before slicing, this resting period is crucial for texture
 Pin It
 When my daughter turned six, she requested cornbread instead of birthday cake, and I've never been prouder as a parent. We served it with honey butter and candles stuck right into the warm squares, and she declared it the best birthday ever. Sometimes the simplest traditions become the most meaningful.
The Secret to Perfect Cornmeal
I've learned through many failed batches that not all cornmeal is created equal. Stone-ground cornmeal retains more of the corn's natural oils and creates a more flavorful, textured cornbread. Regular supermarket cornmeal will work, but if you can find stone-ground from a local mill, the difference is remarkable.
Serving Suggestions That Work
Cornbread deserves more than just appearing as a side dish. Try crumbling it into a bowl of chili, use day old cornbread to make the most incredible Thanksgiving stuffing, or simply slather warm slices with salted butter and local honey. The way the steam escapes when you cut into a fresh skillet creates this moment that feels like home.
Make Ahead and Storage
Cornbread is best eaten warm from the oven, but I've learned to embrace the leftovers. Toast slices of day old cornbread in butter until crispy, or cube and freeze them for future stuffing projects. The texture changes but the flavor only gets better.
- Wrap cooled cornbread tightly and store at room temperature for up to two days
- Freeze individual slices wrapped in plastic for up to three months
- Reheat in a 350°F oven for 10 minutes to restore that freshly baked texture
 Pin It
 There's something profoundly satisfying about pulling a golden skillet of cornbread from the oven, the way it fills the whole house with comfort. This recipe has become my go-to for bringing people together, one warm wedge at a time.
Recipe Questions & Answers
- → What makes cornbread texture tender?
The combination of cornmeal with flour creates a tender crumb structure. Using whole milk or buttermilk adds moisture, while melted butter and oil keep the bread soft. Avoid overmixing the batter to prevent toughness.
- → Can I make cornbread ahead of time?
Yes, bake up to one day in advance and store wrapped at room temperature. Reheat warm in a 350°F oven for 10 minutes before serving. The texture remains excellent when properly stored.
- → What's the difference between using milk and buttermilk?
Regular milk creates a milder, sweeter flavor. Buttermilk adds tangy notes and activates the baking soda for extra rise, resulting in a slightly lighter texture with a more complex flavor profile.
- → Why use both butter and oil?
Butter provides rich flavor while oil ensures moisture and keeps the bread tender longer. This combination creates the best texture and taste profile, preventing dryness while maintaining that buttery cornbread essence.
- → How do I know when cornbread is done?
The top should be golden brown. Insert a toothpick in the center—if it comes out clean or with just a few moist crumbs, it's ready. The edges will pull slightly away from the pan.
- → Can I bake this in a cast-iron skillet?
A 9-inch cast-iron skillet creates an excellent crust with crispy edges. Preheat the skillet with butter before adding batter for an extra-crisp bottom. This traditional method enhances the authentic rustic character.