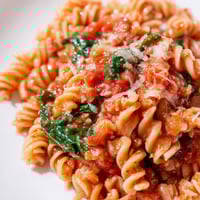
 Pin It
 The first snow of the season was starting to stick outside my apartment window when my roommate burst through the door with grocery bags, declaring it was officially chili weather. We had been talking about making a proper pot of chili for weeks, but somehow busy schedules always got in the way. That afternoon, with nowhere to be and nothing but time on our hands, we finally did it. The kitchen filled with the most incredible aromas as onions hit hot oil and spices bloomed in the pot. It became our snow day tradition after that.
Last winter, my sister called me in a mild panic. She had invited her entire book club over for dinner and had no idea what to feed twelve people on a budget. I told her to make a double batch of this chili. She called me the next morning laughing, saying everyone had seconds and someone actually asked if there were leftovers to take home. That is the power of a really good pot of chili.
Ingredients
- Ground beef: The 80/20 ratio gives you enough fat to carry all those spices without being greasy
- Yellow onion: This forms your flavor foundation, so do not rush the sauté step
- Garlic: Three cloves might seem bold, but it mellows beautifully into the long simmer
- Red and green bell peppers: These add sweetness and texture that balance the beef
- Jalapeño: Seed it for mild flavor or leave some seeds if you want noticeable heat
- Diced tomatoes: The juices become part of your broth base, so do not drain the can
- Kidney beans: Rinse them well to remove the starchy canning liquid
- Tomato paste: This concentrates into something almost caramelized, adding deep richness
- Beef broth: Use a good quality one here because it reduces down as the chili simmers
- Chili powder: This is not just ground chilies, it is a blend that usually includes cumin and oregano
- Ground cumin: This gives you that earthy, almost smoky backbone chili is known for
- Smoked paprika: Do not skip this, it is what makes people ask what your secret ingredient is
- Cayenne: Start with half and taste at the end, you can always add more heat
- Dried oregano: It might seem out of place, but this is actually traditional in Texas style chili
- Salt and black pepper: Taste at the end, salt needs vary based on your broth and tomatoes
Tired of Takeout? 🥡
Get 10 meals you can make faster than delivery arrives. Seriously.
One email. No spam. Unsubscribe anytime.
Instructions
- Brown your beef properly:
- Get your Dutch oven good and hot over medium high heat, add the ground beef and really let it develop some color as it browns, breaking it up with your spoon. Drain off the excess fat but leave a little behind to carry the flavor forward.
- Build your vegetable base:
- Add your onions, garlic, both bell peppers and that jalapeño if you are using it. Sauté everything for about five minutes until the onions turn translucent and the peppers start to soften, stirring occasionally to prevent any burning.
- Wake up your spices:
- Stir in all your spices at once, the chili powder, cumin, smoked paprika, cayenne, oregano, salt and pepper. Let them cook for just one minute, stirring constantly, until the most incredible fragrance fills your kitchen and the oils start to release.
- Add depth with tomato paste:
- Drop in the tomato paste and keep everything moving for another minute. Watch how it darkens slightly and takes on a rich color, this step concentrates those tomato sugars in a way raw paste never could.
- Bring it all together:
- Pour in your diced tomatoes with their juices, those drained kidney beans, and the beef broth. Stir everything well to combine, making sure to scrape up any flavorful bits stuck to the bottom of the pot.
- Let the magic happen:
- Bring the mixture to a gentle bubble, then drop the heat to low and cover your pot. Simmer for forty five minutes, giving it an occasional stir and adjusting the heat if it gets too aggressive.
- Finish with intention:
- Taste your chili and add more salt or cayenne if needed. If you like it thicker, remove the lid for the last ten to fifteen minutes and let some liquid cook off.
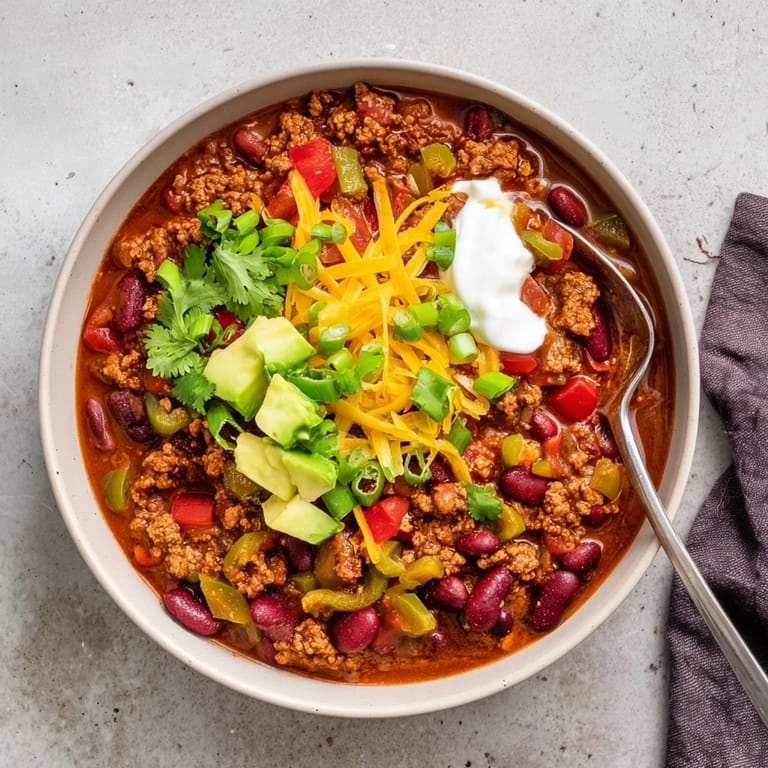
- Serve it your way:
- Ladle the chili hot into bowls and let everyone add their own toppings. That moment when people customize their bowl is almost as good as the eating part.
 Pin It
 My dad never considered himself a cook, but chili was his one dish. He would make a giant pot every Super Bowl, standing over the stove with a beer, tasting and adjusting and taking his sweet time. The house would smell like spices all day long, and by kickoff, there would be cornbread warming in the oven and bowls lined up on the counter. Some of my favorite conversations happened around that table, spoon in hand, steam rising from our bowls.
Making It Your Own
I have played around with this base recipe more times than I can count. Sometimes I add a can of black beans along with the kidney beans for visual contrast. Other times I throw in a diced sweet potato during the simmer, which adds incredible creaminess as it breaks down. Once I added a splash of coffee to the broth, and let me tell you, that added an earthy depth that had everyone guessing. The best version is usually whatever you make it, but do not be afraid to experiment once you have the classic down.
What To Serve With Chili
There is something perfect about the simplicity of good cornbread, still warm from the oven, slightly sweet and crumbly. I have also served this over steamed white rice when feeding a crowd, which stretches the portions and soaks up all that flavorful broth. For a lighter option, a crisp green salad with a bright vinaigrette cuts through the richness beautifully. Honestly though, the toppings bar is where you can really have fun.
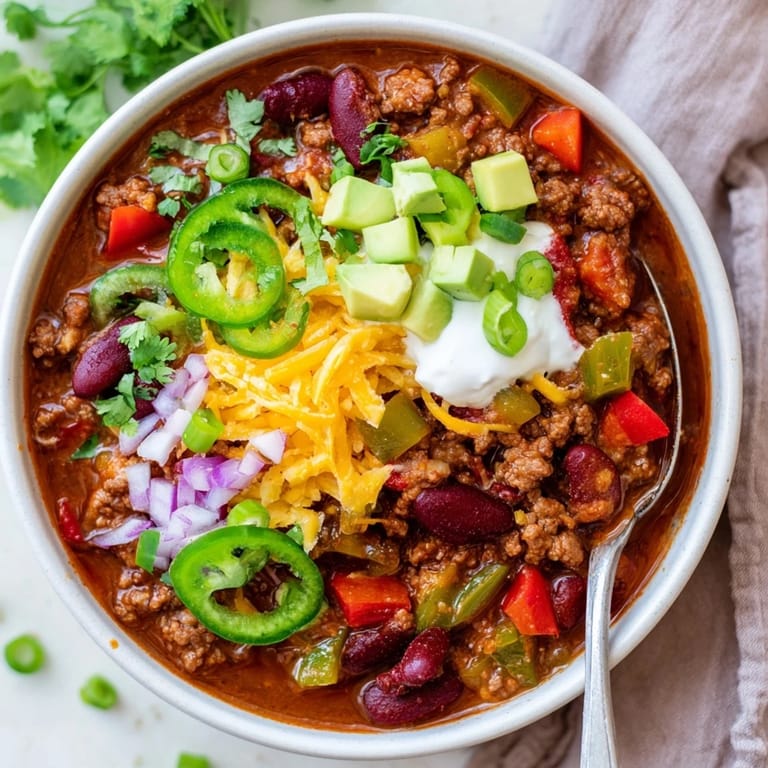
Perfect Toppings Every Time
A cold dollop of sour cream right in the center creates this incredible temperature contrast as you eat. Sharp cheddar, freshly grated, melts into pockets of gooey goodness throughout the bowl. Fresh cilantro adds a bright, herbal note that lifts everything, while green onions bring a mild bite. The real game changer though is diced avocado, creamy and cool against the spicy, steaming chili. Set everything out in small bowls and let people go to town.
- Warm your bowls in the oven before serving for a restaurant quality touch
- Squeeze of fresh lime right before eating brightens all the flavors
- Crushed tortilla strips on top add the most satisfying crunch
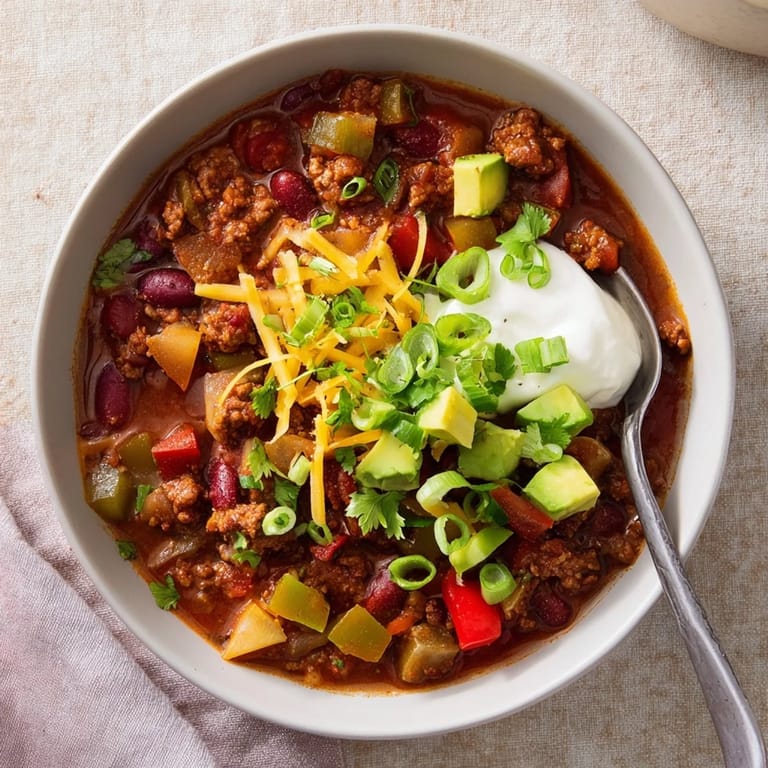 Pin It
 There is something deeply comforting about a recipe that rewards patience and brings people together. Whether it is a snowy day, a hungry crowd, or just a Tuesday night needing a little warmth, this chili has never let me down.
Recipe Questions & Answers
- → How spicy is this chili?
The spice level is medium, with warmth from chili powder and cayenne. For milder flavor, omit the jalapeño and reduce cayenne. Add extra heat with more cayenne or hot sauce if desired.
- → Can I make this ahead of time?
Absolutely. Chili actually tastes better the next day as flavors meld. Store in the refrigerator for up to 4 days or freeze for up to 3 months. Reheat gently on the stovetet.
- → What toppings work best?
Classic toppings include sour cream, shredded cheddar cheese, chopped cilantro, sliced green onions, and diced avocado. For extra crunch, try crushed tortilla chips or pickled jalapeños.
- → Can I use different beans?
Yes. Kidney beans are traditional, but pinto beans, black beans, or a mix of all three work wonderfully. Just keep the total quantity the same for best results.
- → How do I thicken the chili?
Simmer uncovered for the last 15 minutes to reduce liquid. For quicker thickening, mash a portion of beans against the pot side or add a tablespoon of cornmeal mixed with water.